
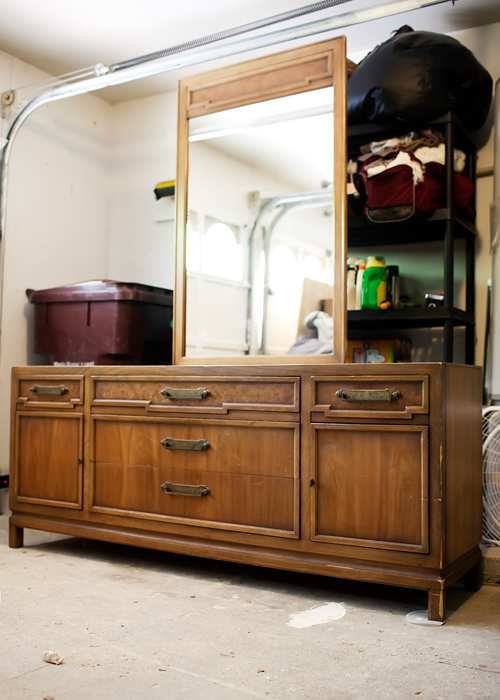
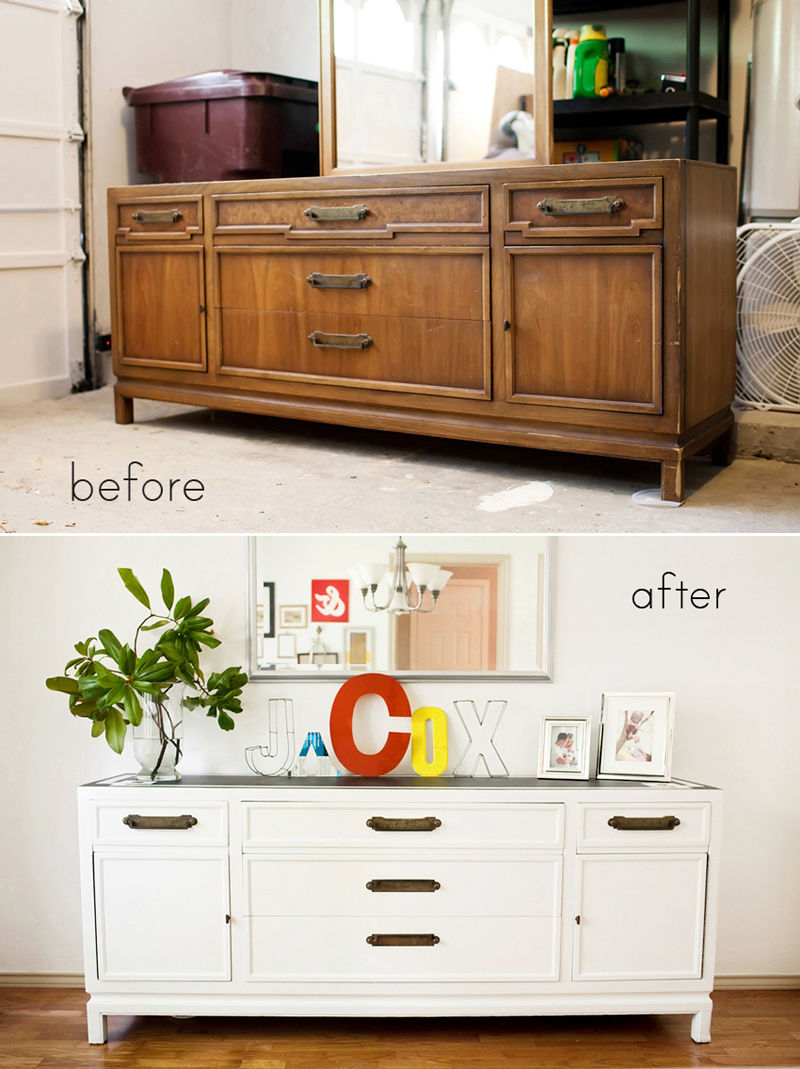
I recently saw this dresser at Goodwill and fell in love. I love the lines, the long narrow shape (72" wide & 19" deep), the amount of storage, so many things! What I didn't love so much was the color of the wood, the 70's style mirror, and the fact that it was a bedroom dresser. We don't need a bedroom dresser. But we do need a dining room sideboard. So my wheels started turning and it was obsession level madness in full force.
I knew I was in for some serious painting and sanding time but that wasn't the biggest hurdle of this project. Convincing Jared that a) we neeeeeheheheeeeded a sideboard in the dining room and b) that such a "big hunk of turd" (direct quote) could be transformed into something remotely cool were the biggest tasks. And did I mention said turd weighs about 400 pounds?
So after promising it would be cool and that he wouldn't hate it and if he did he could chop it up and set it on fire and that I wouldn't screw up the garage in the process, it was mine! For a grand total of $69.
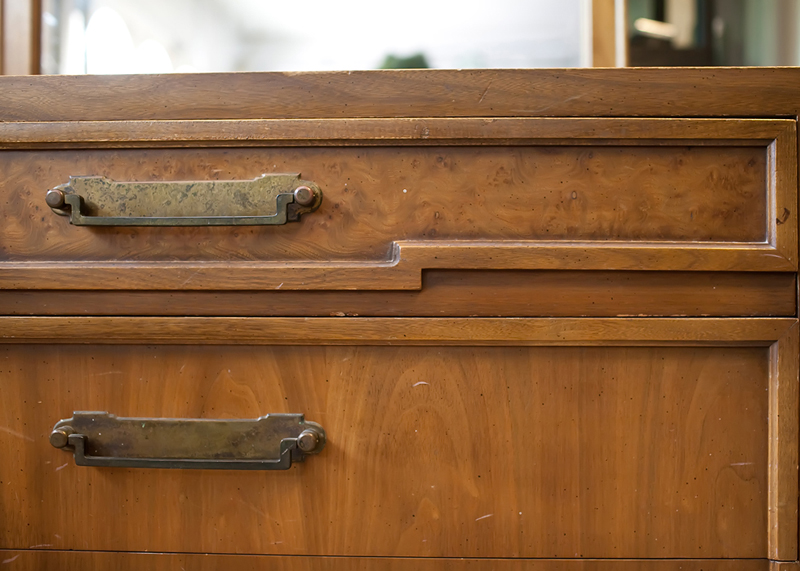
I loved the straight clean lines of the drawers and molding but one little thing was kind of throwing it all off. The not-so-straight lower edge molding on the drawers.
So I grabbed a putty knife and pried off the the bottom pieces. I thought I could take the pieces to Home Depot or Lowe's, match it to existing molding, and just buy new pieces to tack on. Could things be so easy? The answer is almost always not quite.
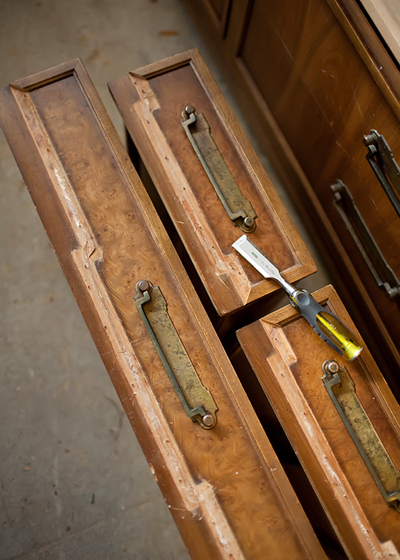
There was no molding that even came close to matching so it was either pry off all the molding and replace it with something different or get creative. With a miter saw, some wood putty, and a Dremel I was in business.
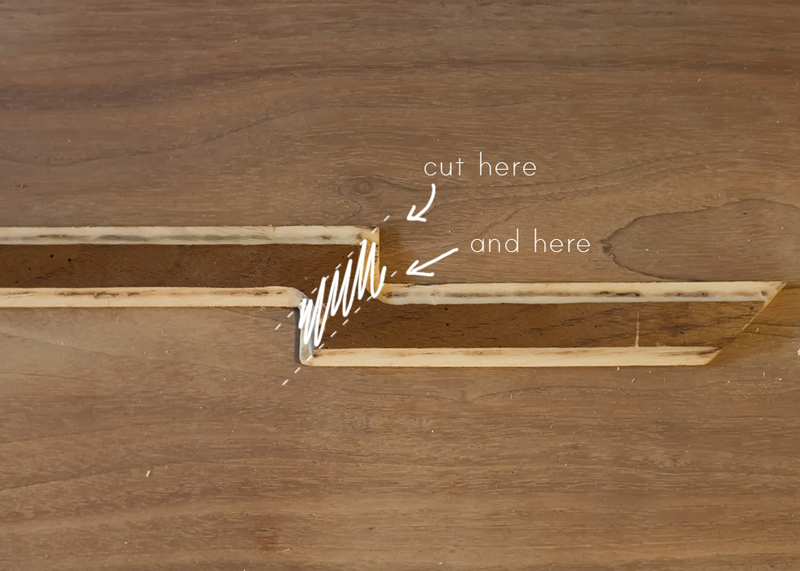
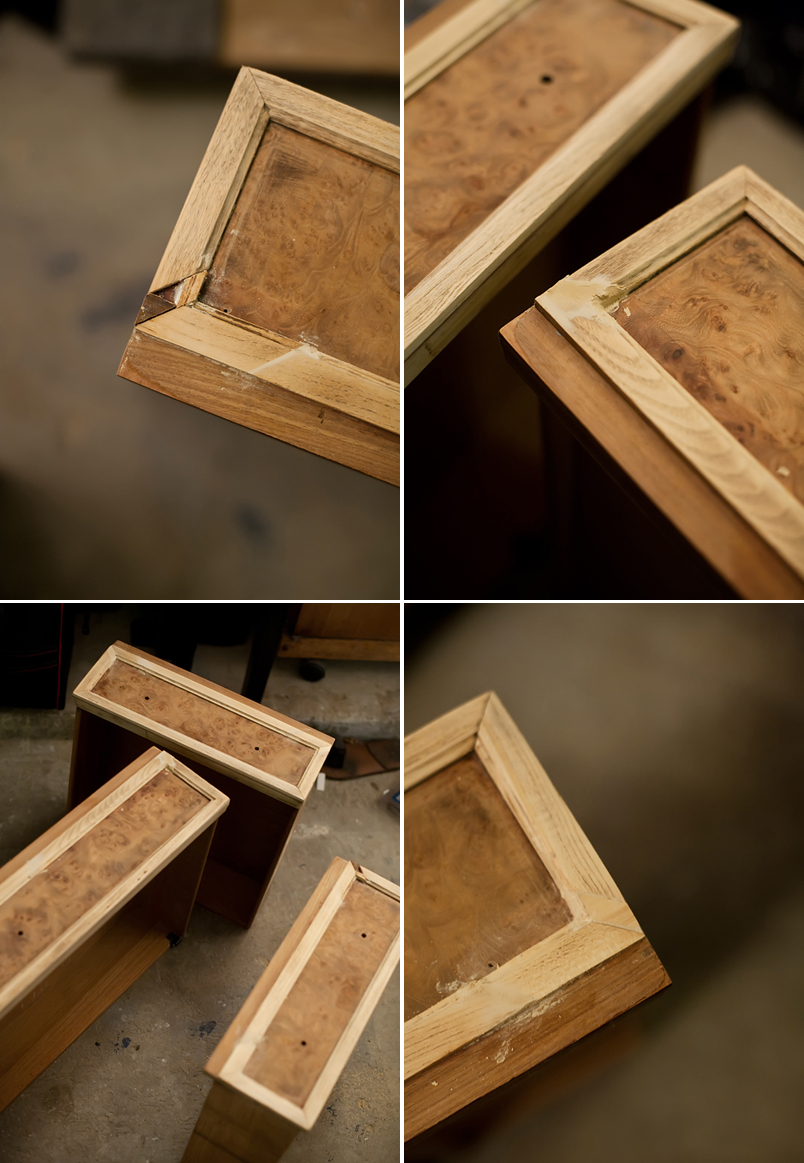
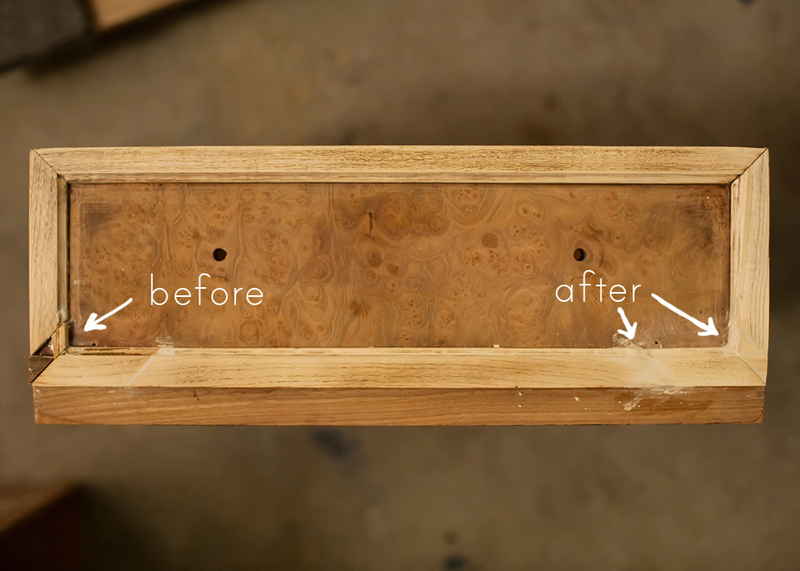
I cut the pieces of molding at the joint with a miter saw and tacked them back onto the drawers in a straight line. Now I had gaps where the corners didn't meet so I glued some of the scrap pieces in the hole to give some support, and filled in the rest with wood putty. After the wood putty dried I used a grinding bit on the Dremel and carved out the wood putty so it looked just like the molding. This took a long. time. Because so help me if I made all those promises and it came out looking crappy.
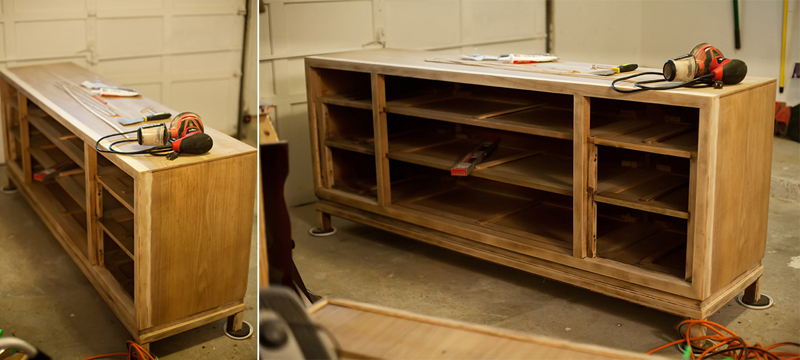
After my brief, and hopefully last, stint in carpentry I sanded the whole thing inside and out. The piece is solid wood and I wanted to strip off the pretty thick coat of varnish so I used an electric sander. And coated the entire garage with a layer of dust.
Then it was time for primer and a few coats of white paint. Paint and primer are always my favorite because then it starts to actually look like what you had in mind at the start.
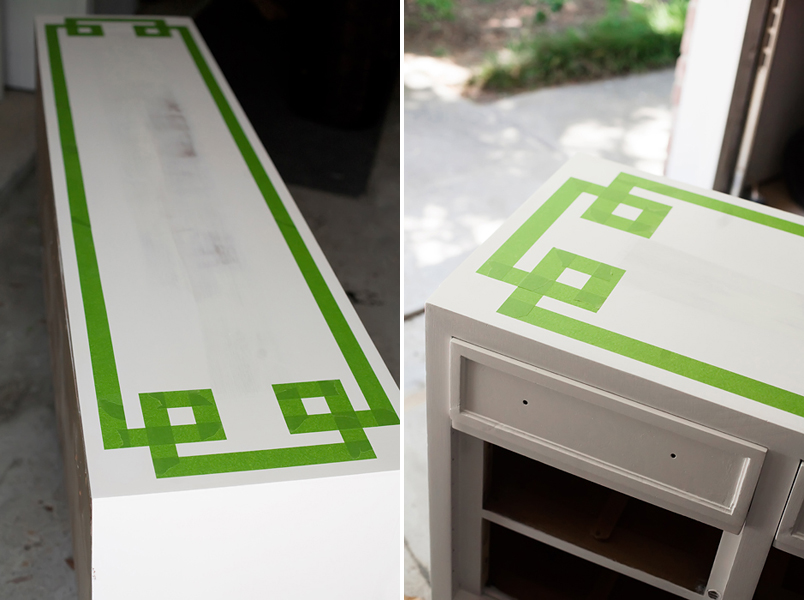
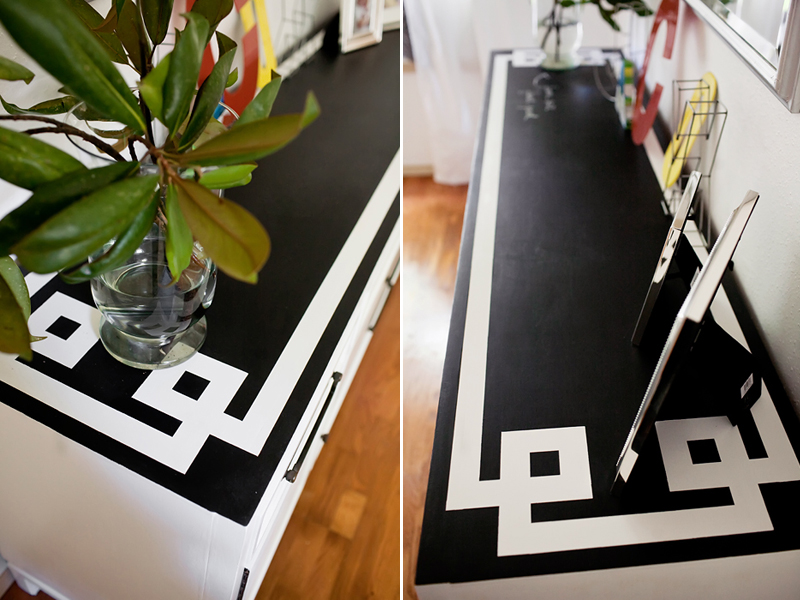
To spice it up at bit I decided to tape off a geometric border on the top, after the white paint dried, and go over it again with black paint. So when I took the tape off the white design would show through.
The final steps were just a couple coats of poly to seal it, re-attaching the hardware, and voila!
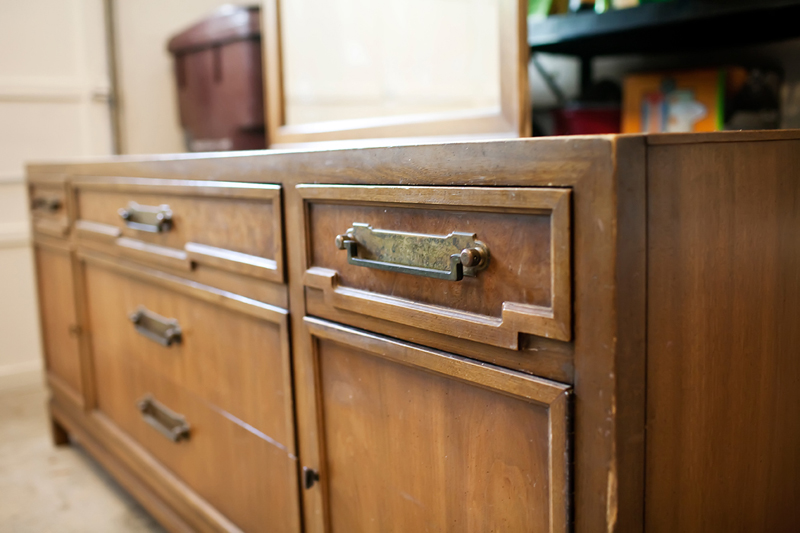
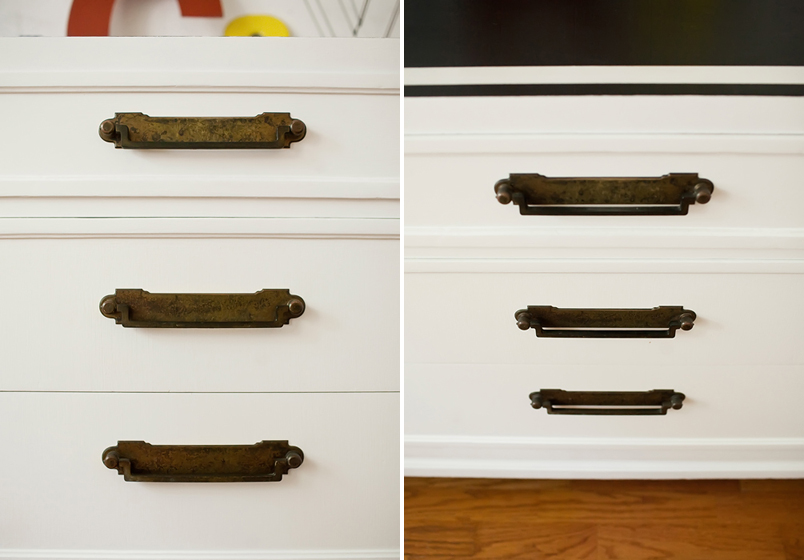
The thing that first caught my eye in Goodwill was the awesome hardware. I love that the handles are heavy and straight, a little industrial looking.
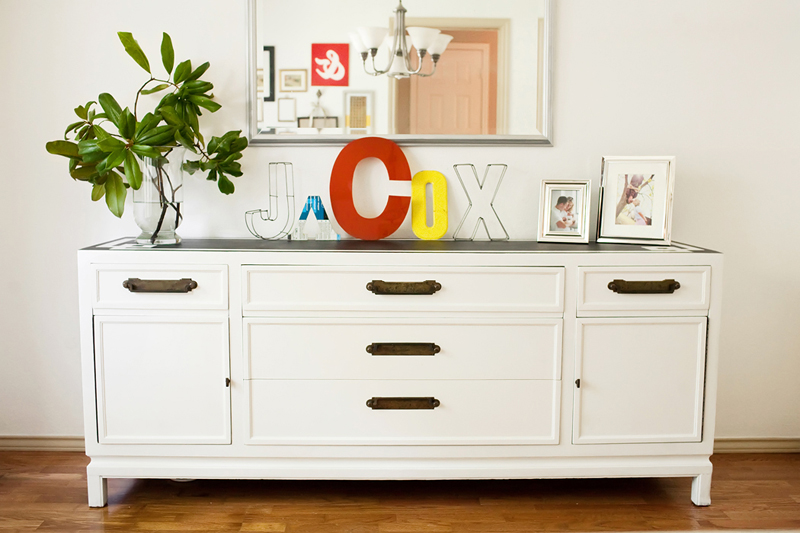
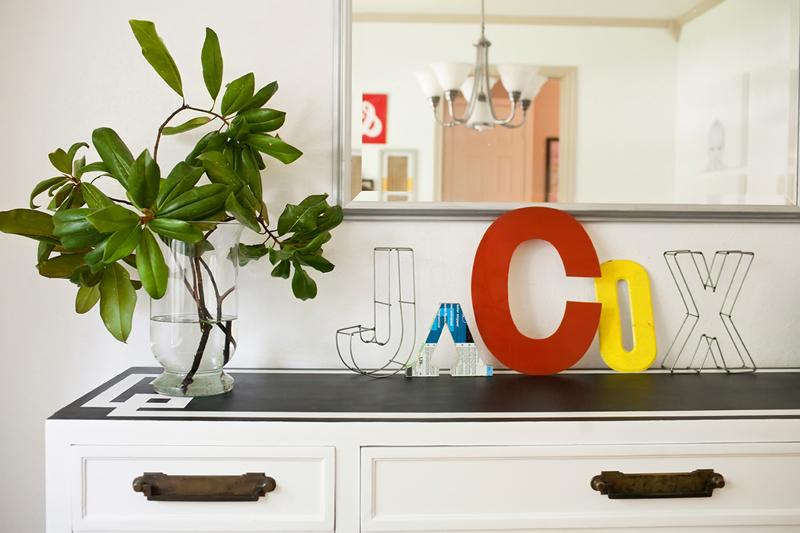
The border on top turned out really well! I think it adds a little bit of interest and helps the piece stand out in the room.
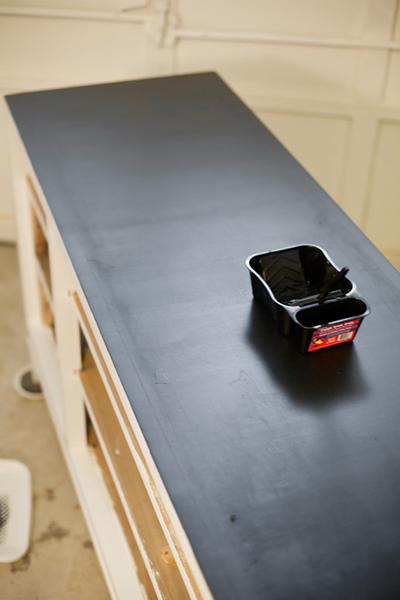
But my FAVORITE part of the whole thing!? The black paint on top isn't any black paint...
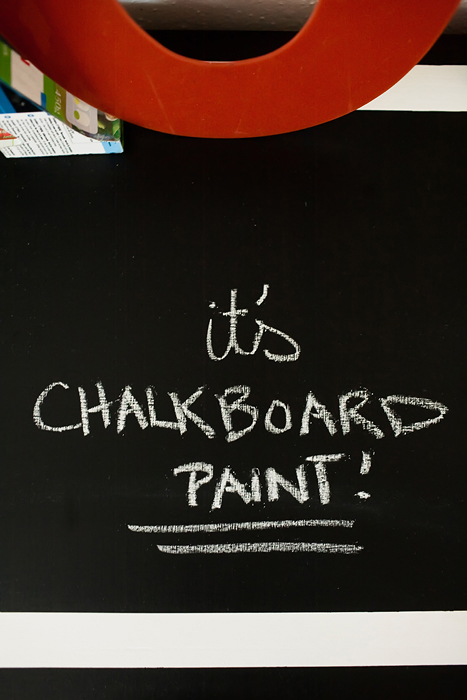
I didn't want it to look like a plain old sideboard, or for it to be too formal either. Chalkboard paint was the perfect solution to add some fun and quirky-ness, it just makes it more US. It will be fun at parties to draw arrows and write things like "delicious cupcakes" or "Brody's favorite", or to give kids something to do while helping set the table. The possibilities are endless! (This was part of my spiel to sell Jared on the whole idea.)
I painted the front of the inside drawers with chalkboard paint too for a little more labeling fun.

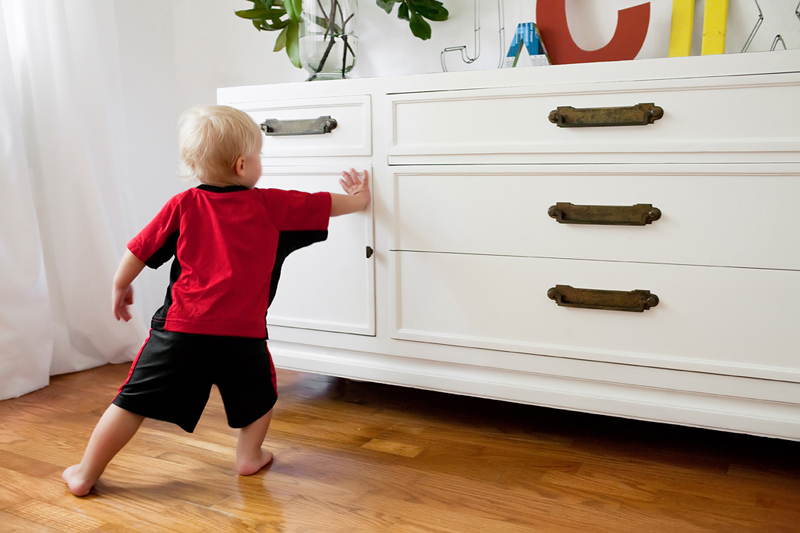
Brody loves opening and closing these doors, such a big helper. :)
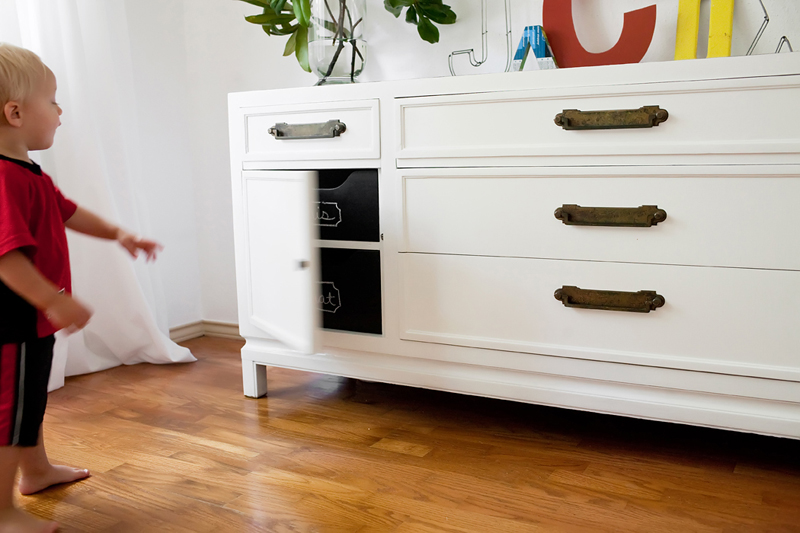
The $69 dresser-turned-sideboard makeover:


13 comments:
I love how it turned out, you are so creative!
I love love LOVE this piece!
Love it! Where did you get the drawers? Did they come with it? They are so modern and awesome!
Good work, lady!!!
Good work, lady!!!
Awesome Tyan! That looks like a lot of work but it's a seriously gorgeous sideboard. I assume Jared bowed down to the finished product?
Awesome!! I have been wanting to do something like that so bad!! It looks great! What equipment did you use?
You are the coolest!
LOVE IT!!!! And I'm so proud of your construction skills lady!!!!
Love it! I especially love all your art - take some more of that and blog it!
um...seriously...I am obsessed with this.
xoxo
allymullin.blogspot.com
Wow...you did that all by yourself? What CAN'T you do! LOL You are so thrifty. It looks like it's worth hundreds.
Beautiful!!! I am totally jealous!
Post a Comment